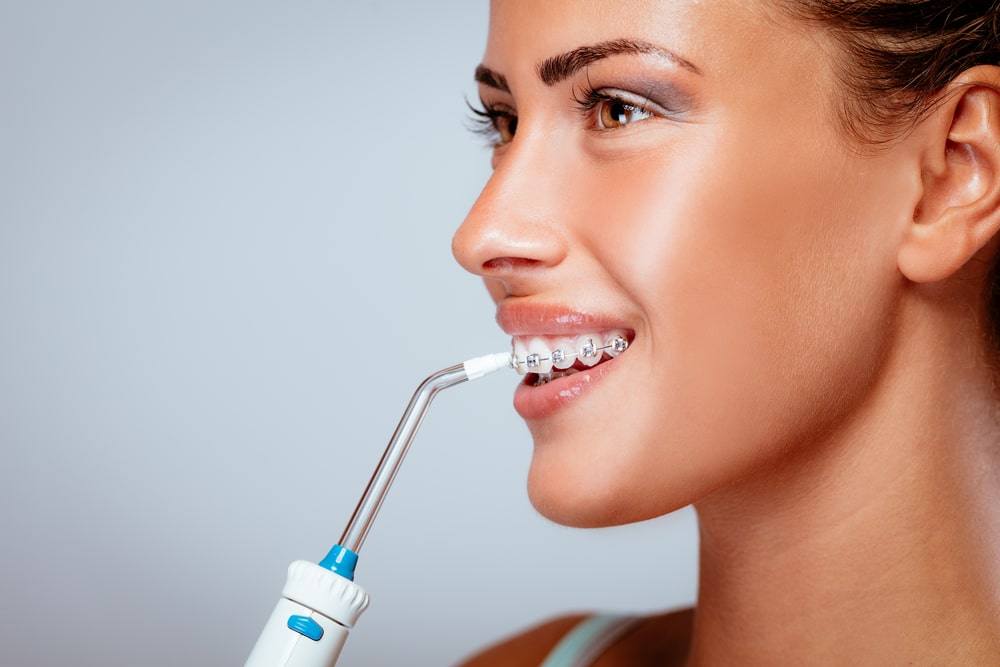
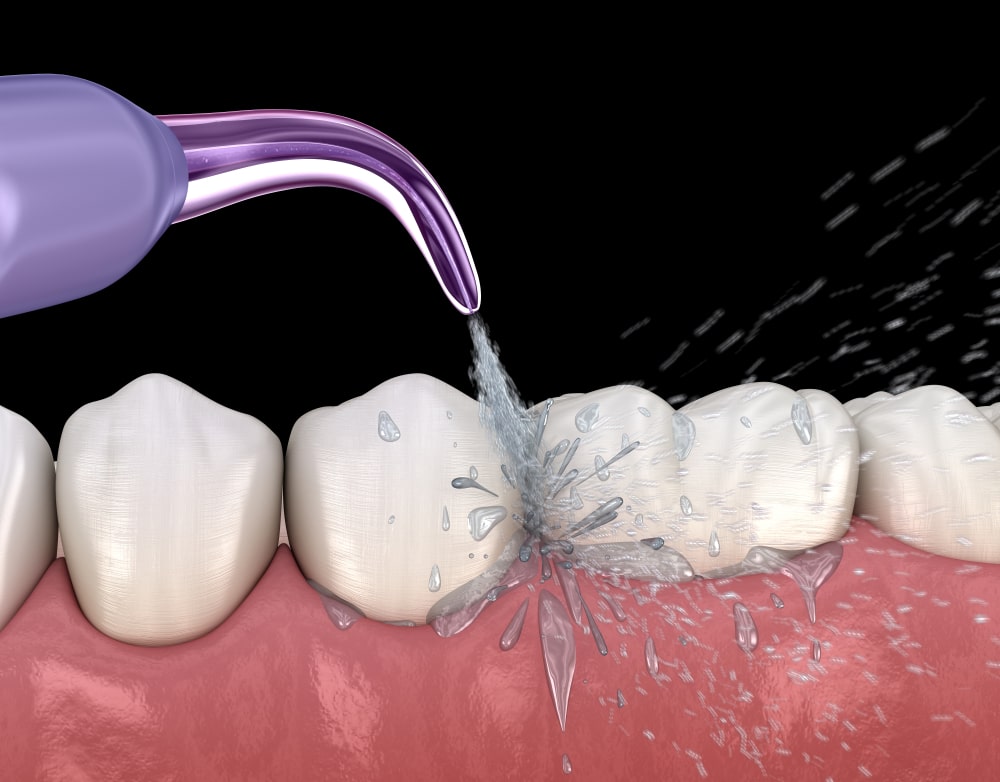
Water flossers have become a popular tool for maintaining optimal oral hygiene, offering an effective way to clean between teeth and along the gumline. While water alone can significantly improve your dental health, some users explore the use of additives to boost the cleaning process. But are these DIY solutions safe and effective? As one of the best dentists in Brampton, we believe in empowering you with the knowledge to make informed decisions about your oral health.
Let’s dive into the world of DIY water flosser solutions, highlighting what works, what to avoid, and how to maintain your device for long-term use.
The Benefits of Additives
Using additives in your water flosser can offer several potential benefits:
- Enhanced Antibacterial Action: Certain additives, like antimicrobial mouthwash, can help fight bacteria and reduce the risk of gum disease.
- Fresher Breath and Improved Taste: Some solutions can leave your mouth feeling fresher and cleaner.
- Targeted Solutions: Additives can address specific oral health issues, such as gum inflammation or sensitivity.
However, it’s crucial to proceed with caution. Not all additives are safe for your water flosser or your oral health.
Safe and Effective DIY Solutions

Before introducing any additives, it’s important to know what’s safe for both you and your device.
Here are a few options to consider:
Salt Water Rinse
A salt water rinse is a time-honored remedy for reducing inflammation and fighting bacteria in the mouth.
- Recipe: Mix 1/2 teaspoon of salt with 8 ounces of warm water until dissolved.
- Benefits: Salt water can help soothe irritated gums and reduce bacterial load.
- Cautions: While some sources suggest salt water can clean out gum pockets, Waterpik advises against using salt or saline solutions, especially in cordless units.
The Flossmore blog suggests salt for antibacterial effects.
Always consult your water flosser’s manual and proceed with caution, as the salt can potentially corrode the internal components of certain devices.
Mouthwash
Using mouthwash in your water flosser can provide an extra boost of antibacterial action.
- Types of Mouthwash: Look for antimicrobial mouthwashes that are alcohol-free to prevent damage to your device.
- Dilution Guidelines: Dilute the mouthwash with water, using a ratio of 1:1 or even less mouthwash to water.
- Recommended Mouthwashes:
- Chlorhexidine: A prescription-strength mouthwash effective for reducing bacteria. Consult your dentist before use.
- CloSYS: Recommended by some dental professionals for its gentle yet effective formula.
Other Solutions (Use with Extreme Caution)
- Hydrogen Peroxide: When heavily diluted, hydrogen peroxide can be used for specific issues like minor gum inflammation.
- However, it can be damaging to the device if used improperly and, according to Verywell Health, may damage the device.
- Consult with your dentist before considering this option.
Additives to AVOID
Certain additives can harm your water flosser or your oral health. Here’s a list of what to avoid:
- Essential Oils (Tea Tree Oil): These can clog the device and may cause allergic reactions.
- Iodine: Can stain teeth and damage the water flosser components.
- Baking Soda: Abrasive and can damage the device.
- Highly Concentrated Solutions: Can corrode the internal parts of the water flosser.
- Alcohol-Based Mouthwashes: Can degrade the plastic components of the flosser.
- DIY Whitening Solutions: Unless approved and instructed by a dental professional.
How to Clean Your Water Flosser After Using Additives
Proper cleaning is essential to prevent bacterial buildup and maintain your water flosser.

- Importance of Thorough Rinsing: Always rinse the water flosser thoroughly after each use with additives.
- Cleaning Solutions:
- Vinegar and Water: Fill the reservoir with a solution of equal parts white vinegar and warm water. Run the flosser for a few minutes, then rinse with clean water.
- Hydrogen Peroxide: Use a heavily diluted solution to clean the reservoir, but ensure it’s thoroughly rinsed afterward.
- Step-by-Step Cleaning Instructions:
- Remove the reservoir and wash it with warm, soapy water.
- Use a small brush to clean the nozzle.
- Run a cleaning solution through the device as described above.
- Rinse thoroughly with clean water.
- Frequency of Cleaning: Clean your water flosser at least once a week, or more often if you use additives regularly.
Water Flosser Maintenance
Regular maintenance will keep your water flosser in optimal condition.
- Replacing Nozzles: Replace the nozzle every 3-6 months, or as recommended by the manufacturer.
- Checking for Clogs and Blockages: Regularly inspect the nozzle and hose for any clogs. Use a thin wire or the cleaning tool provided by the manufacturer to clear blockages.
- Professional Servicing: If you notice any issues with your water flosser, consider professional servicing to ensure it remains in good working order.
Find out which works more effectively, water flosser or string floss for the better pick.
Expert Advice and Recommendations
While DIY solutions can be beneficial, it’s always best to seek professional advice.
Consult with your dentist before using additives in your water flosser, especially if you have specific oral health concerns like receding gums.
At Smile Makers Dental Care, Dr. Seema Shetty and our team can provide personalized recommendations based on your unique needs.
We emphasize a patient-centric approach, ensuring you receive tailored treatments and advice in a welcoming environment.
Conclusion: Recommended DIY Water Flossers
DIY water flosser solutions can enhance your oral hygiene routine when used safely and correctly. By following the guidelines outlined in this article and consulting with a dental professional, you can achieve a cleaner, healthier mouth while protecting your device. Remember, the best approach is always informed and cautious.
If you have any questions or concerns about your oral health, don’t hesitate to reach out to Smile Makers Dental Clinic in Brampton, ON.
We’re here to help you achieve a confident, healthy smile!
FAQs About DIY Water Flosser Solutions
Q: Can I use regular mouthwash in my water flosser?
A: Yes, but it’s best to dilute it with water and ensure it’s alcohol-free to prevent damage to the device.
Q: Is salt water safe for all water flossers?
A: No, Waterpik specifically advises against using salt water in cordless units. Check your device’s manual and proceed with caution.
Q: How often should I clean my water flosser?
A: Clean your water flosser at least once a week, or more often if you use additives regularly.
Q: What should I do if my water flosser gets clogged?
A: Use a thin wire or the cleaning tool provided by the manufacturer to clear any blockages in the nozzle or hose.
Q: Can I use essential oils in my water flosser?
A: It’s generally not recommended, as essential oils can clog the device and may cause allergic reactions.
Q: Where can I find professional dental care in Brampton?
A: Smile Makers Dental Care, located at 36 Vodden St. East, #105, Brampton, ON L6V 4H4, offers comprehensive dental services for the whole family.


